Sharp knives are not a chef thing. They are a respect-your-tools thing. A dull blade works harder, tears instead of cuts, and eventually someone gets hurt reaching to compensate.
What ruins them is usually bad care: a honing steel that is too aggressive, a grinding wheel at a random shop, or months of neglect followed by panic. None of that is necessary.
Whetstone sharpening looks fussy until you do it twice. After that, it is just angle and repetition.
Sharpening vs honing: know the difference
Sharpening removes metal and rebuilds the edge. Honing nudges the edge back into line. One is occasional. The other is maintenance.
For Japanese knives, use a ceramic rod. The grooved steel rod made for German blades is too rough on thin, hard steel and can do more harm than good.
The whetstone
Grit tells you how aggressively the stone cuts. Lower numbers reshape the edge. Higher numbers refine and polish it. For most home cooks, one good combo stone handles nearly everything.
The King KW-65 has been the default starter stone for years because it is honest and forgiving. 1000 grit gets the edge back. 6000 cleans it up. That covers most home cooks.
1000 on one side, 6000 on the other, affordable and dependable. The stone that teaches the skill without making a production of it.
View on Amazon →Once your hands know what they are doing, the Shapton Kuromaku feels better in every direction. It cuts faster, stays consistent, and does not need a soak.

Splash-and-go, faster cutting, cleaner feedback. The upgrade once the basics live in your hands.
View on Amazon →The angle
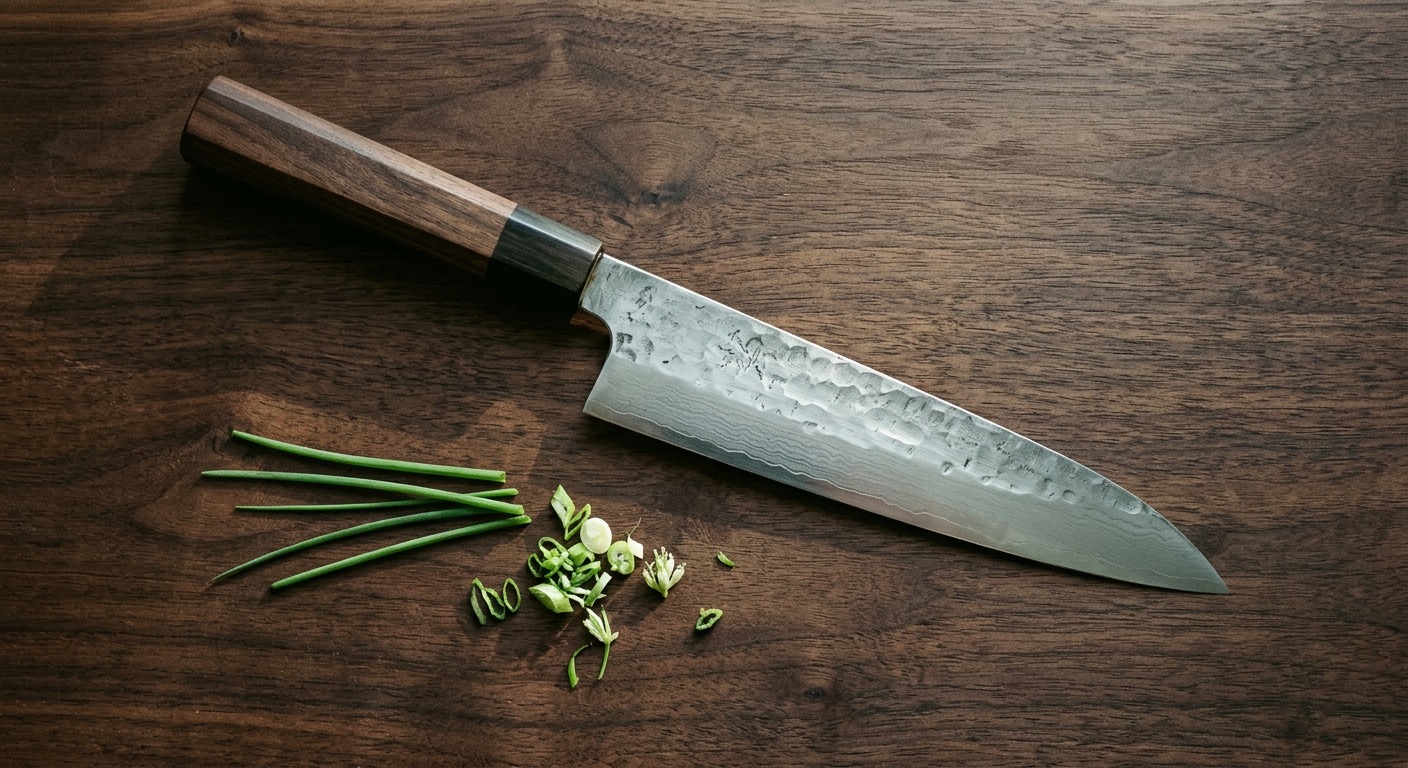
Most Japanese knives want about 15 to 17 degrees per side. That narrow angle is why the edge feels so clean through onions, herbs, and raw fish. It is also why your consistency matters.
Think matchbook height between spine and stone. The exact number matters less than repeating the same angle every stroke. Consistency beats perfection here.
The process, step by step
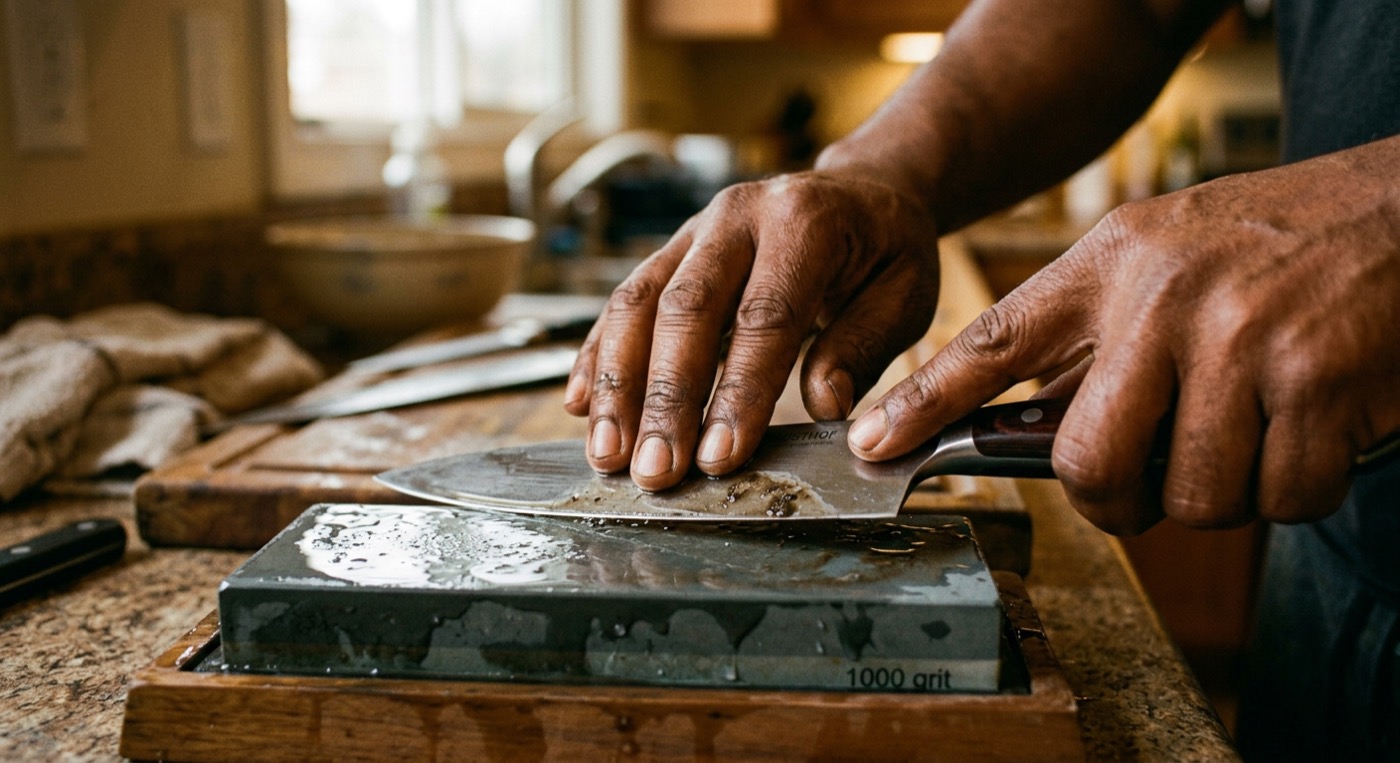
Soak the stone
If you are using the King, soak it for five to ten minutes until the bubbles stop. If you are using the Shapton, a splash of water is enough. Different stone, different prep.
Set your angle
Set the stone on something that will not slip. Hold the knife at about 15 degrees. One hand guides, the other adds light pressure near the edge. Keep the angle steady and do not rush.
Work the edge
Push from heel to tip across the stone with moderate pressure on the forward stroke, lighter on the way back. Stay patient until you raise a burr along the other side. That tiny wire edge is your proof.
Switch sides and repeat
Flip the knife and do the same work on the second side until the burr changes over. Then alternate light strokes, one per side, easing up as you go so the edge refines instead of getting ragged.
Finish on the fine grit
Move to the 6000 side with lighter pressure and fewer strokes. You are polishing now, not doing surgery on the edge. Ten gentle passes per side is often enough.
Strop or hone to finish
A leather strop or smooth ceramic rod cleans off the last of the burr and leaves the edge straighter. Draw the knife away from the edge, alternate sides, keep it light.
Maintenance between sharpenings
A few passes on a ceramic rod before cooking keeps the edge aligned and stretches the time between full sharpenings. Thirty seconds is enough when you do it regularly.
When the rod stops bringing the edge back, go to the stone. That is the signal.
My son thinks sharpening a knife on a Sunday is unhinged. He is twelve and wrong about this. My grandmother would borrow the knife once it was done and never give it back.